DIY: Chocolate Chip Oreo Brownies

Welcome back bloggers! I know it’s been a while since I have given a recipe on dessert but the wait is over! TODAY IS THE DAY Get your milk ready because you’re going to need it for these heavenly chocolate chip Oreo brownies.

This is probably the most easiest desert you’ll ever make. Definitely a great option for a last minuet snack. I can tell that you’re already drooling.

I just would like to add that GIRLS this is an amazing desert for when it’s your special time of the month and you’re craving sweets and chocolate!

I combined the fixings per the guidelines on the back of the Duncan Hines box. I do trust it’s 1/3 C water, 1/3 C Oil and 1 egg for a brownie like batter… we don’t need no cake type bater… YUCK!

When I stirred up the batter I included a touch of Nestle Semi Sweet Chocolate Chips. Presently I have attempted the “less expensive” form and I’ve come to find that they leave a nasty after taste in the mouth. So purchase the the Nestle brand!

I put minimal not as much as a large portion of the batter in the base of a 9×9 preparing dish that I had gently sprayed with BAKING spray. DO NOT USE REGULAR OIL!

Then layer about 16 Oreo’s on top of the brownie batter.

I then poured the rest of the brownie batter over the top of the Oreo’s ensuring that every single cookie was covered. Then place in a 350-degree oven and let it bake away for about 18 minutes.

What comes out of this delicious dessert will have you craving more! You should cut the brownies into 16 perfect pieces so that you can ensure that you have a Oreo in each brownie.

Ingredients
  • Duncan Hines Brownie Mix made per instructions on box
  • 1 1/2 C Nestle Semi Sweet Morsels
  • 16 Oreos
Instructions:
  1. Preheat oven to 325.
  2. Whisk the brownie mix together per the ingredients on the box.
  3. Next add in the Nestle Morsels.
  4. Spray a 9×9 baking dish with baking spray.
  5. Spoon in a little less than half of the brownie batter into the dish.
  6. Place 16 Oreo’s onto the top of the batter.
  7. Spoon and spread the remaining batter over the top of each Oreo.
  8. Bake for 15-20 depends until a toothpick comes out clean.
  9. Let the brownies cool completely and then cut a piece for each Oreo.
  10. Enjoy with a tall glass of milk!
DIY: One Pot Cajun Chicken and Sausage Alfredo Pasta

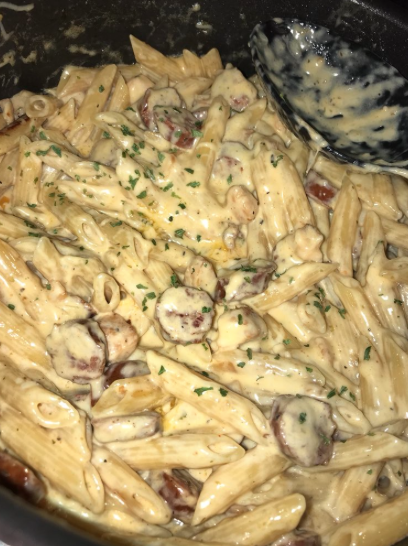
Welcome back bloggers! Today I am sharing with you a ONE POT formula! This One-Pot Cajun Chicken and Sausage Alfredo is one of my new most loved suppers! It is such a straightforward dinner to make yet expect that implies it is basic in season.

This feast is completely filled with flavor. Delicate chunks of chicken with smoky bits of sausage in a rich and tasty custom made Alfredo sauce. Takes under 30 minutes to make is and AMAZING for leftovers!

What’s more, not to neglect to specify the reward, “one pot” arrangement that makes this dinner a simple and less messy circumstance (whoopee!)

Honestly this recipe does have a little kick of spiciness to it, if you don’t really like spicy foods I suggest you skip over reading this blog entry and find another one of my recipes that best fist you and your taste!

The cajun taste goes great with the italian sausage that is included with the recipe

This portion will make around 10 servings, so it can without much of a stretch be isolated into two dinners. So freeze up, and appreciate making this simple, quick (under 30 minutes), one-pot goodness.

Screen Shot 2018-04-02 at 4.18.44 PM

Ingredients:

  • 4 tablespoons of extra virgin olive oil
  • 1 pound of chicken cut into bite sized pieces (I used chicken tenderloins)
  • 1/2 teaspoon of kosher salt
  • freshly ground black pepper to taste
  • 14 oz smoked sausage sliced on the diagonal
  • 4 cloves of garlic minced
  • 1 quart of low-sodium chicken broth
  • 2 1/2 cups of heavy cream
  • 1 pound of dried penne pasta
  • 1 1/2 tablespoons of Cajun seasoning plus more for topping
  • 4 oz of freshly shredded parmesan cheese
  • 1 cup of Italian flat leaf parsley minced (NOT NEEDED IF DONT HAVE)
Directions 
  1. Empty olive oil into the pot. Add diced chicken breast to the pot, cover with cajun flavoring, and mix until the point when the chicken is equally prepared. At that point, include cut sausage and blend. Cook the meat on medium warmth for 5-10 minutes or until the point that the chicken is cooked through.
  2. Once the meat is cooked, add in the garlic, (and any other vegetables you would like to add) and stir.
  3. Continue stirring for 3-5 minutes as the veggies cook down.
  4. Add the dry pasta to the pot (if utilizing long, thin noodles, break in half), at that point pour in the chicken stock. Mix until the point when everything is all around blended.
  5. Cover the pot and heat to the point of boiling. When bubbling, keep secured convey the warmth down to a stew for 10 minutes (stirring every two minutes.) If there still extra chicken broth, you can discard it, cook longer until the liquid evaporates, or add a little cornstarch to thicken the liquid.
  6. Finally, include heavy cream and parmesan and mix until the point that your pasta is all around mixed. Topping with more parmesan, a sprinkle of cajun flavoring (if you want more spice), and salt and pepper to taste. Enjoy!

For leftovers, warm over a low flame and include more chicken stock and cream to keep sauce from isolating.

DIY: One Skillet Chicken with Lemon Garlic Sauce

Ok, I know you guys are tired of the dessert DIY recipes I’ve been giving out and its time for some REAL FOOD.

Screen Shot 2018-02-26 at 2.04.15 PM

Cover Photo

This is a delicious recipe will have you head over heels for this easy meal.

Ok! everyone loves chicken whether it’s baked or fired or even made in a skillet to serve to your family.

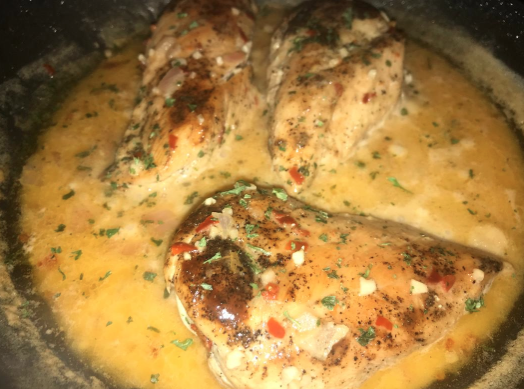
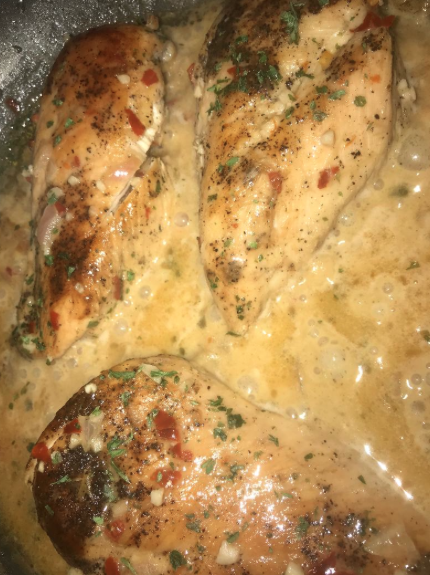
This recipe obviously only requires just one pan. I’m talking boneless chicken breatss covered in lemon garlic butter sauce that is creamier than anything you’ve had before.

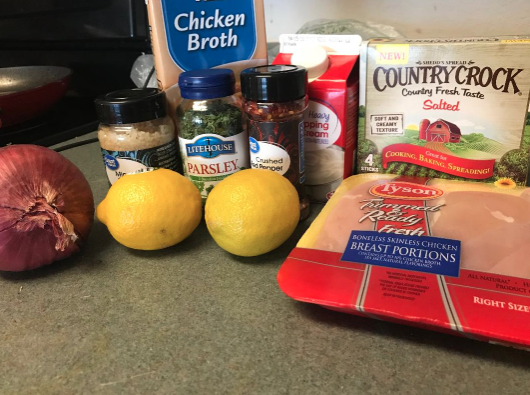
Uike the other recipes I have showed you this recipe requires a lot of ingridents, like lemon juice garlic, butter, red pepper flakes and other items inclugin parsley, but whta really makes this dish is the chikcen broth and the heavy creme. With those items the special creamy consistency!

Screen Shot 2018-02-26 at 2.02.09 PM

Establishing shot

Ingredients (gluten free!)

Meat
  • 4 Chicken breasts, boneless skinless
Produce
  • 1 tbsp Garlic
  • 2 tbsp Parsley or basil
  • 1/3 cup Shallots
Canned Goods
  • 1 cup Chicken broth
Condiments
  • 2 tbsp Lemon juice
Baking & Spices
  • 1/2 tsp Red pepper flakes
  • 1 Salt and pepper
Oils & Vinegars
  • 1 tbsp Olive oil
Dairy
  • 2 tbsp Butter, salted
  • 1/4 cup Heavy cream

Instructions 

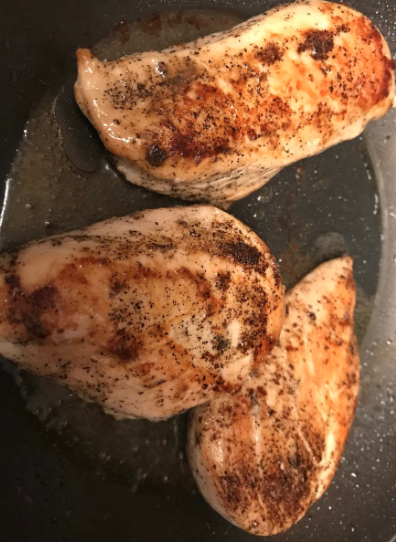
  1. Sprinkle a pinch of salt and pepper on both sides of the chicken. Screen Shot 2018-02-26 at 2.02.31 PM Detail Shot
  2. Place chicken in skillet with olive oil cook until done
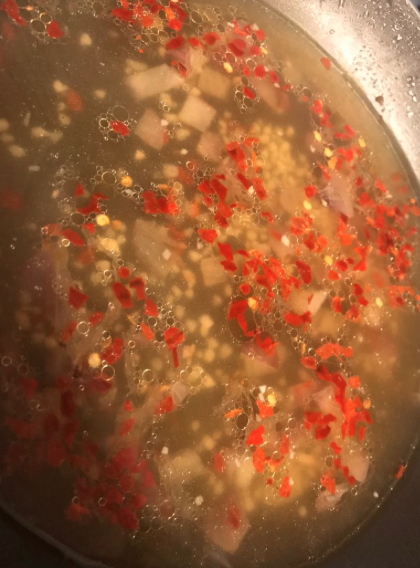
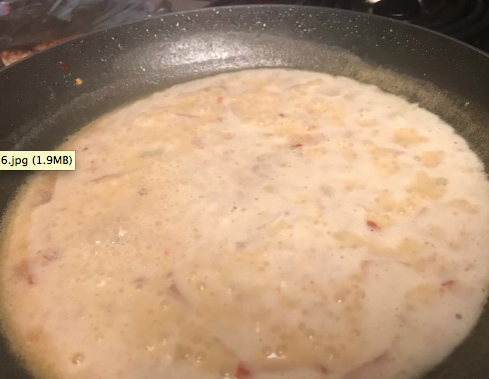
  3. In a 2 cup measuring cup or a small bowl, combine the chicken broth, lemon juice, garlic, and red pepper flakes.
  4. When the chicken is finished remove chicken and add broth mixture to skillet, cook   on medium low for 10 minutes Screen Shot 2018-02-26 at 2.02.46 PM Filter Shot (1)
  5. After 10 mins add 2 tbsp butter and 1/4 cup heavy creme and stir until butter meltsScreen Shot 2018-02-26 at 2.03.11 PM Filter Shot (2)
  6. When your sauce has thickened add your chicken to the mixture and top it off with some parsley!

Screen Shot 2018-02-26 at 2.03.29 PM

Closing Shot

DIY: Rainbow Popsicles

I know what you’re thinking, why in the heck am I doing DIY popsicles in JANUARY when a DIY hot cocoas recipe would be more suitable for this month.

Well guess what… I’m feeling SUMMERY

I don’t know where people who read my blog is from so maybe there is someone reading my blog from California where it’s mostly hot around the year, and plus spring break is coming up and I think this would be a fun recipe to make.

This is a great DIY to make if you’re making this for a part gathering like a pool party. or anything dealing with outside nothing cools you off in a heat quicker than a tatsy treat from the freezer.

These rainbow popsicles are the easiest to make and has a burst of flavor to enjoy and will get anyone to smile when they see a colorful posicle full of candy that many people enjoy.

In this recipe you get to have your rainbow and eat it too!

The MAGIC of these pops happen when all the sugary sour goodness come off of the candy and mix right into the soda.  Each bite is a sweet and sour surprise. Like the best of movie theater snacks in each nibble.

A lot of DIY rainbow popsicles are lobar and time intensive between mixing each colored layer or waiting for layers to freeze before adding the next. DOn’t get me wrong some of the DIY popsicles ware yummy and adorable but I like the idea of this quick fix recipe.

Ingredients

Instructions

  1. Take each candy strip and twirl it 3 or 4 times. Then pinch the ends together so they stick. Repeat 4 times, pressing each layer into a pop mold. Each popsicle mold should have (2) strips of candy. Slowly pour soda into the pops, allow for the fizz to settle and continue to fill leaving about 1/2 at the top to allow the freezing process. Freeze for 4 hours or until frozen. Run a little warm water over you popsicle mold to easily wiggle the pops out. Enjoy!

DIY No-Bake Chewy Cookies and Cream Bars

I know one thing for sure and that’s everybody loves desserts. Especially when it doesn’t even take an hour to make.

Today I’m making No-Bake Chewy Cookies and Creme bars.

If you are not a fan of Oreos then this might not be what you might be interested in, but I can’t say the same for marshmallows. You really don’t have to like marshmallows to like this dessert.

No-Bake Chewy Cookies and Cream Bars are quick and easy to no bake. Kids will love this recipe and will go crazy over this three ingredient yummy treat!

This takes only about five minutes to prepare and another ten to set up. These taste like  Rice Krispie Treats but with Oreo added to it.

Ingredients:

Directions

  1. Use any baking pan but preferably an 8×8 or 9×9 square pan. Use foil to cover the pan and spray with pam. Set aside
  2. Put oreo cookies in a blender or food processor and pulse until you get into crumbs. (An easer way id to put some Oreos in a Ziploc back and get a huge spoon and smash them)
  3. Place marshmallows and butter in a large microwave safe bowl. Heat for 2 minutes until it looks puffy.
  4. Add cookie crumbs to bowl and stir
  5. Press the mistier into your own with a spatial or your hands (make sure your hands are clean.) You can spray cooking spray onto your hands or spatula to keep from sticking.
  6. Set aside for 10 minutes to cool. Cut bars into squares, serve and enjoy.

OK! nothings perfect we all know that, but I’ll let you guys know the disadvantages of this recipe only because I wouldn’t want you to plan this recipe out and it wasn’t what you thought it was at first just because there are three ingredients.

Although this recipe was very delicious, the butter kind of separates from the marshmallows when being put inside the microwave and the butter tends to melt all the way to the bottom of the bowl which makes it harder to get the marshmallows out of the bowl and makes a mess that is hard to clean up.

Your bars are not going to harden that well if you use too much butter. They’ll still be chewy and kind go hard. These chewy cookies and cream bars are very rich in flavor so if that’s what you like then this recipe is for you!